Monday, November 26, 2012

Bristle Animal Ornaments...It's an obsession!


I LOVE bristle animals. They are so stinking cute! 
This is my winter display that I have set up in my dining room. 


I lucked out on obtaining all of these cuties because I have wonderful parents who happen to be shopping the after Christmas sale at Macy's and scooped up the lot for me:)


My kids just love my take on a winter wonderland.


Martha's isn't bad either:)


Thursday, November 1, 2012

DIY from Pinterest


I made this! You may have noticed that the latest trend is chalkboard painting and really elaborate chalk art. I wanted a framed chalkboard to put on top of my entertainment center but did not want to pay the elaborate price. I found the open back frame at Michaels and again used my trusty 40% coupon so ended up paying $16 for it. I then went to Lowes and had a nice employee cut a piece of hardwood the size of the opening and then painted the wood with chalkboard paint I already had in the basement.


This was my inspiration. 


This is mine! I hope to change the words per change of season.
My total cost was less than $20.
Not bad!


These are going to be bookends. 
You need two brick pavers from Lowes at roughly $.56 a piece, two plastic toys (these were $1 a piece at Walmart) a can of spray paint and hot glue.


My $1 dinos


The above photo was the inspiration and...


These are mine! 
It was super easy and I love them. I do need to add that if using spray paint you might want the bookends to sit outside for a few days (if the weather is nice) to let some of the fumes die down before putting them in your kids room. 


Wednesday, October 31, 2012

Handmade Christmas Part 2


I have begun to enjoy making wreath's wrapped in yarn. The supplies are affordable and easy to find and they are easy to work on while sitting down in the evening while watching a movie. All you need is a wreath form, yarn and hot glue. I found my straw wreath's at Walmart for $2.97 and the yarn was at Walmart as well.


Before I begin I mark off the the sections of color so I have equal parts all around the wreath.


These will go on each of my children's bedroom doors for Christmas. 
These would make wonderful gifts for family and friends.


Monday, October 29, 2012

Handmade Christmas Part 1


Preparations for Christmas began early this year since I am hoping to hand make most gifts. In early September I purchased two unfinished castles from Michaels and used my 40% off coupons to bring the cost to $11.99 each. Michaels did not have the wooden pegs that I wanted so I ordered them from Craft Parts . 


Fast forward two months later and I now have two finished castles. This Hogwarts castle is for my little guy. The guidepost on the corner directs students to Hogsmead, Forbidden Forest, Hogsmead Station and other places.


The great room has the school crest and four house flags displayed.


Portraits line the staircases.

This pull out drawer is the Room of Requirement.


I gathered inspiration from Pinterest and other creative sources.


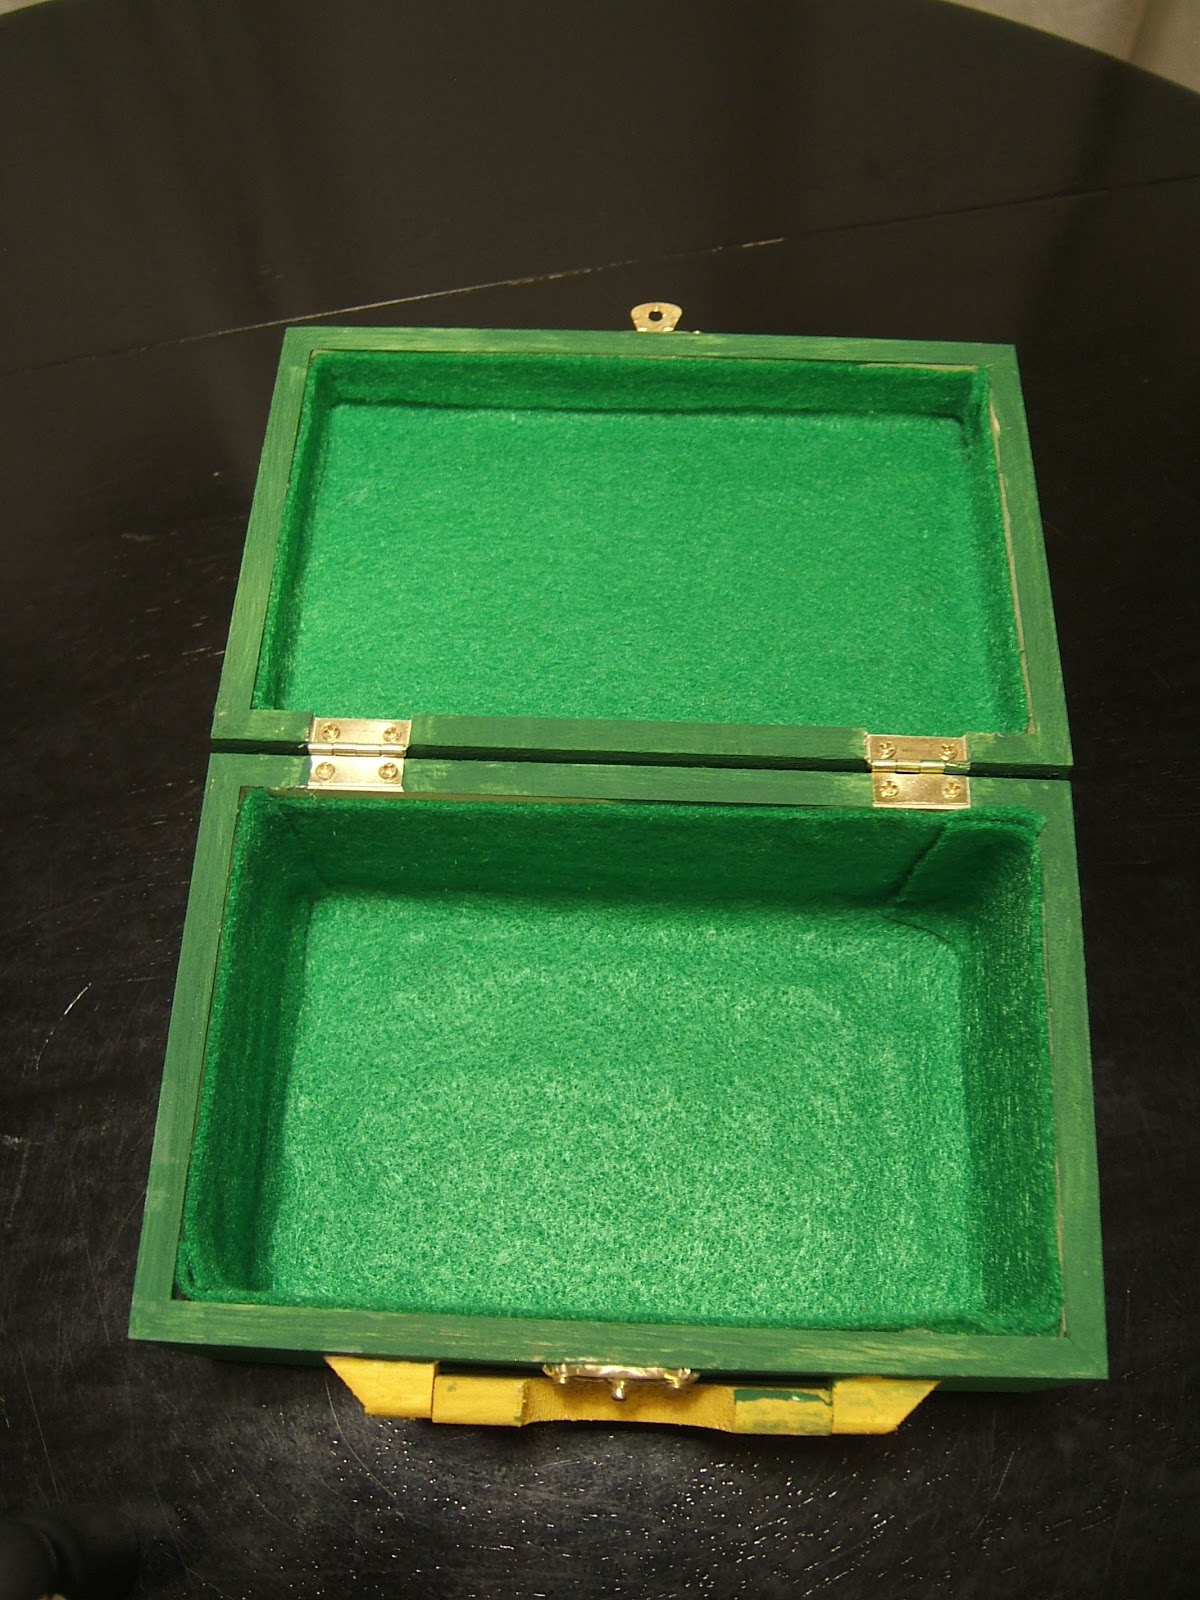
This was an unfinished wood box that I also purchased at Michaels and painted then lined with felt. This will hold my little guy's peg people.


This castle is for my daughter's to share. I took inspiration from Disney's Sleeping Beauty for the trees and shrubs.


One daughter will receive Disney princess peg people and the older will receive the Harry Potter trio, International inspired girls and American Girl doll inspired peg people. 


American Girl Dressing room


American Girl Doll's
Rebecca, McKenna, Caroline & Josephina


Unfinished Wood boxes that I painted and lines just like my son's box.


Both were a lot of fun to make and hopefully my children will have fun playing with them too!


These were also finds at Michaels. An unfinished barn and horse stable that I painted for one of my daughters. It's the end of October and I already have a big dent made in my Christmas shopping!!!

Wednesday, October 24, 2012

Technical Difficulties

As many of you know I am a little technically challenged. So it works out very well for me to have a tech savvy hubby! You may have notice that pictures are missing from blog! In an effort to change some of my settings I also managed to erase most pictures from my blog. After a brief moment of panic I just accepted the fact that an afternoon in the near future will be spent on fixing the problem. Until then I have a sneak peak on some of the projects I have been working on.
Hint * Christmas prep began in September!


Tuesday, September 18, 2012

Baby "Green" Steps


Lately I have been taking baby steps in living a little "greener". Family and friends know that I will make the 2 hour trip to Ikea just to replenish my paper napkin supply. They are thick and have pretty designs on them. (call it my guilty pleasure) A couple of months ago I saw in a magazine how an event organizer buys Ikea dish towels and uses them for napkins at the event's she organizes. (light bulb goes off) So the last time I went to Ikea I picked up 20 of these dish towels and some solid colored one's as well.


I keep some on the counter.


I keep my reserves in a basket located in my pantry and keep an empty basket for dirty "napkins". 
I thought the transition would be more difficult but the whole family took to the change very well. 

The next "green step" was to eliminate air fresheners with VOCs. For years we have used plug in air fresheners. After doing some reading on VOCs and the effect they can have on your health I threw out all plug ins and began looking for alternatives. Other than opening windows and letting the fresh air in I found that beeswax candles with cotton wicks are a good alternative. 


I found these candles at Target all for under $4. They also sell a vanilla , pineapple and Macintosh apple scent. They smell lovely and I feel MUCH better about the air my family is breathing in our home. 

They may be little steps but it feels good.


Friday, September 7, 2012

Infant to Toddler Room Redo - Wall Art


When my husband and I married I should have presented him with a bouquet of paint chips. Foreshadowing the life he would now have ahead. I LOVE changing the colors of my rooms. We moved into our home two years ago and every room had the same color it was originally painted...until now:) My children are growing up with the assumption that their room can have a makeover every two years. I know...my fault entirely! My Isabelle's room went from purple and pink to "more grown up colors" blue and yellow, Anna wanted a yellow room and I wanted to change Camden's to the blue Anna already had. So Anna and Camden switched rooms and I got to work on some new wall art to go in the new room. I wanted to stick with a light blue/red/brown color scheme. 


I love Dr. Seuss books and especially their illustrations. I purchased some unfinished wood frames from Michaels and painted with chalkboard paint. I was originally going to put pictures of Camden in the frames and write cute things on the frame. After reading The Lorax to the kids lately I changed my mind to the Dr. Seuss idea. I searched the web for Seuss illustrations and added Seuss quotes that I like and printed them on card stock paper. When I tire of this idea I can change the pictures out for something else.


Since I create most of the wall art that goes in my kids rooms I have a lot of canvases. When we change a theme or color I recycle the canvases if I can for the next project. That is what I did for this project. I covered some canvases I already had with burlap. (I will warn you that working with burlap is not the best for allergy sufferers!) 


I found a plaid fabric that incorporated the color scheme I wanted for the room and used felt for the surf board, windows, and tires. I am happy with the finished product with the exception of one thing. The uneven corners of the canvas caused by the bulkiness of the burlap. I guess I can call it "rustic" art!